
Red Velvet Cake In A Jar Recipe
If you’re looking for a delightful dessert that’s as sweet as it is easy to make, this Red Velvet Cake In A Jar is perfect! This charming portable cake combines the rich, velvety flavor of classic red velvet cake with creamy frosting, all served up in adorable jars. It’s a fun and unique way to enjoy this favorite treat, making it great for picnics, parties, or just a cozy night in at home.
Why You’ll Love This Recipe
- Easy Preparation: No fussing with multiple layers; these jars make dessert assembly simple.
- Portable Goodness: Perfect for taking along to gatherings or as cute gifts.
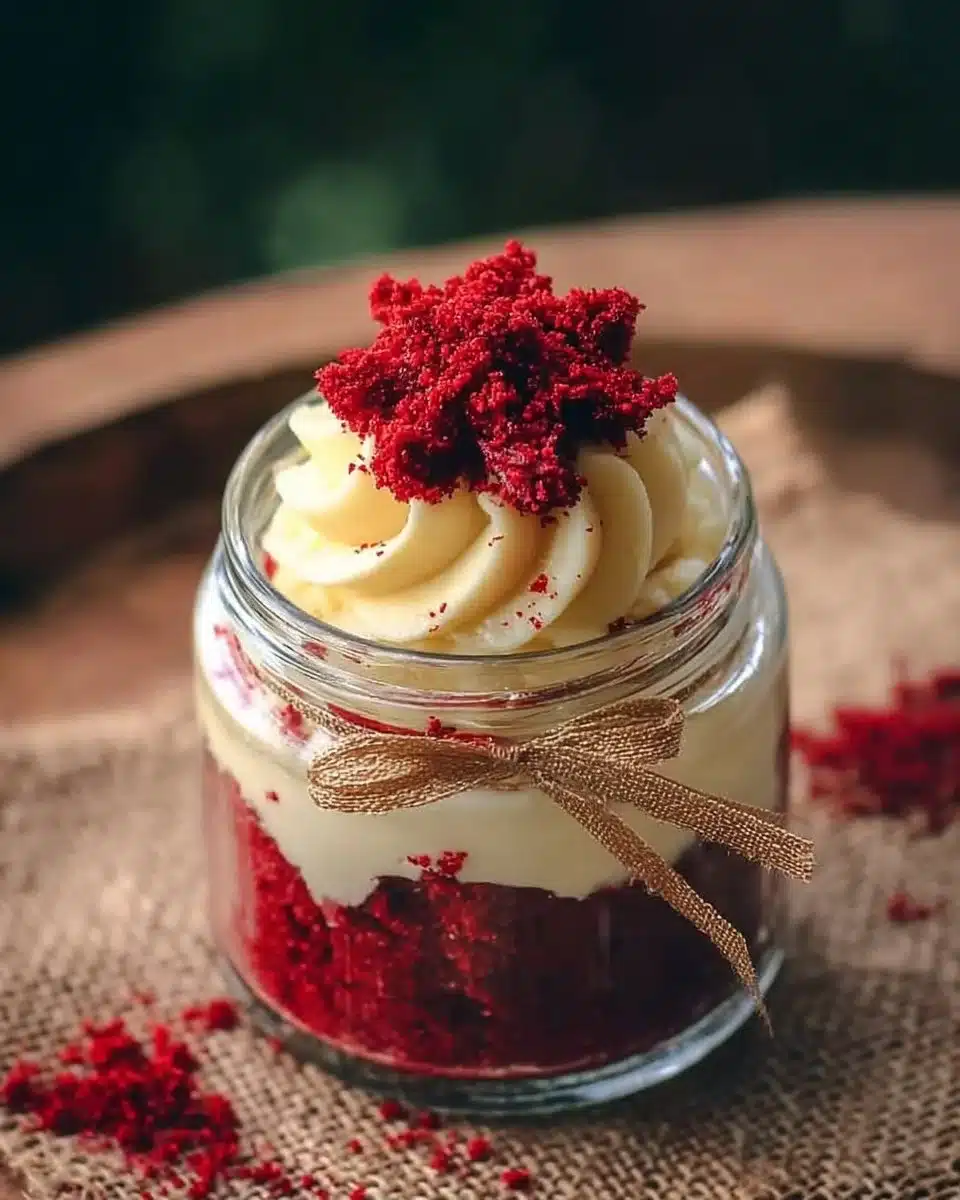
- Visual Wow Factor: The vibrant red layers look stunning in a jar—gorgeous and delicious!
- Customizable: Add your favorite toppings or switch up the frosting for extra flair.
- Freshness Guaranteed: Each jar keeps your cake moist and fluffy, even for a few days.
- Less Mess: No plates or forks needed—just grab a spoon and dig in!
Ingredients
- Red Velvet Cake Mix: The star of the show! You can use any brand you love or try a homemade recipe if you’re feeling adventurous.
- Eggs: Helps give the cake its structure. Substitute with applesauce or flaxseed meal for a vegan option.
- Vegetable Oil: Keeps the cake moist and adds richness. Can be replaced with melted coconut oil for a hint of flavor.
- Buttermilk: Adds tanginess and moisture. If you don’t have buttermilk, mix milk with a splash of vinegar as a substitute.
- Cream Cheese Frosting: The delicious, creamy topping that elevates the whole dessert. You can use store-bought or make your own to control the sweetness.
- Crushed Pecans or Walnuts (optional): Adds a lovely crunch and nutty flavor to each bite.
Full measurements are in the recipe card below.
How to Make the Recipe
-
Bake the Cake: Preheat your oven as per the cake mix instructions. Prepare your cake batter by mixing the cake mix, eggs, vegetable oil, and buttermilk until just combined. Pour into a greased cake pan and bake until a toothpick comes out clean.
-
Cool and Crumble: Once the cake is done, allow it to cool in the pan for a few minutes before transferring it to a wire rack. Once completely cooled, crumble the cake into small pieces.
-
Prepare the Frosting: If making homemade cream cheese frosting, beat together cream cheese and butter until smooth. Gradually add powdered sugar and mix until creamy. You can add a dash of vanilla for extra flavor.
-
Layer in Jars: Start layering your jar. Begin with a handful of cake crumbs, followed by a generous dollop of cream cheese frosting. Repeat the layers until you fill the jar, ending with frosting on top.
-
Garnish: If desired, sprinkle crushed nuts on top of the frosting for that extra crunch and texture.
-
Chill and Enjoy: Place your jars in the refrigerator for at least 30 minutes before serving. This allows the flavors to meld beautifully.
Pro Tips for Making the Recipe
- Use a Jar with a Wide Mouth: This makes it easier to layer and eat from!
- Don’t Overmix the Batter: Keep your cake light and fluffy by mixing until just combined.
- Shop for Cute Jars: Look for mason jars or even small glass containers to give your dessert a charming presentation.
- Try Different Fillings: Mix it up with fruit preserves or whipped cream in between the layers!
- Taste as You Go: Adjust the sweetness of the frosting to perfection; everyone’s preference is different.
How to Serve
Serve your Red Velvet Cake In A Jar as a stand-alone dessert. It pairs beautifully with a side of fresh berries or a scoop of vanilla ice cream for an extra indulgent treat. You could even add a dollop of whipped cream on top for an extra touch of sweetness!
Make Ahead and Storage
- Fridge Storage: Store your jars in the refrigerator for up to 4 days. Make sure to seal them tightly to retain moisture.
- Freezing: You can freeze the crumbled cake separately, but it’s best to assemble the jars fresh. If they’re already layered, consume within a couple of days for the best taste and texture.
- Reheating Tips: If you prefer your cake warm, you can gently microwave the jar (without the lid!) for about 15-20 seconds. Be careful not to overdo it!
FAQs
Can I use a different cake flavor?
Absolutely! Feel free to get creative and try a chocolate, vanilla, or even lemon cake mix.
Can I make this recipe gluten-free?
Yes! Use a gluten-free cake mix and ensure your frosting is also gluten-free.
How long can I keep these jars in the fridge?
Your Red Velvet Cake In A Jar should last up to 4 days in the fridge, so you can prepare them in advance for events!
Can I make these jars vegan?
Yes! Substitute the eggs with flaxseed meal, the buttermilk with a non-dairy milk + vinegar, and use a vegan frosting or make your own.
Now you’re all set to whip up these delightful Red Velvet Cakes In A Jar! Enjoy every creamy, sweet, and vibrant bite. Happy baking!

Red Velvet Cake In A Jar
Ingredients
Method
- Preheat your oven as per the cake mix instructions.
- Prepare your cake batter by mixing the cake mix, eggs, vegetable oil, and buttermilk until just combined.
- Pour into a greased cake pan and bake until a toothpick comes out clean.
- Once the cake is done, allow it to cool in the pan for a few minutes.
- Transfer to a wire rack and cool completely before crumbling into small pieces.
- If making homemade cream cheese frosting, beat together cream cheese and butter until smooth.
- Gradually add powdered sugar and mix until creamy, adding a dash of vanilla for extra flavor if desired.
- Start layering in the jar with a handful of cake crumbs, followed by a generous dollop of cream cheese frosting.
- Repeat the layers until the jar is filled, ending with frosting on top.
- If desired, sprinkle crushed nuts on top of the frosting.
- Place the jars in the refrigerator for at least 30 minutes before serving.