
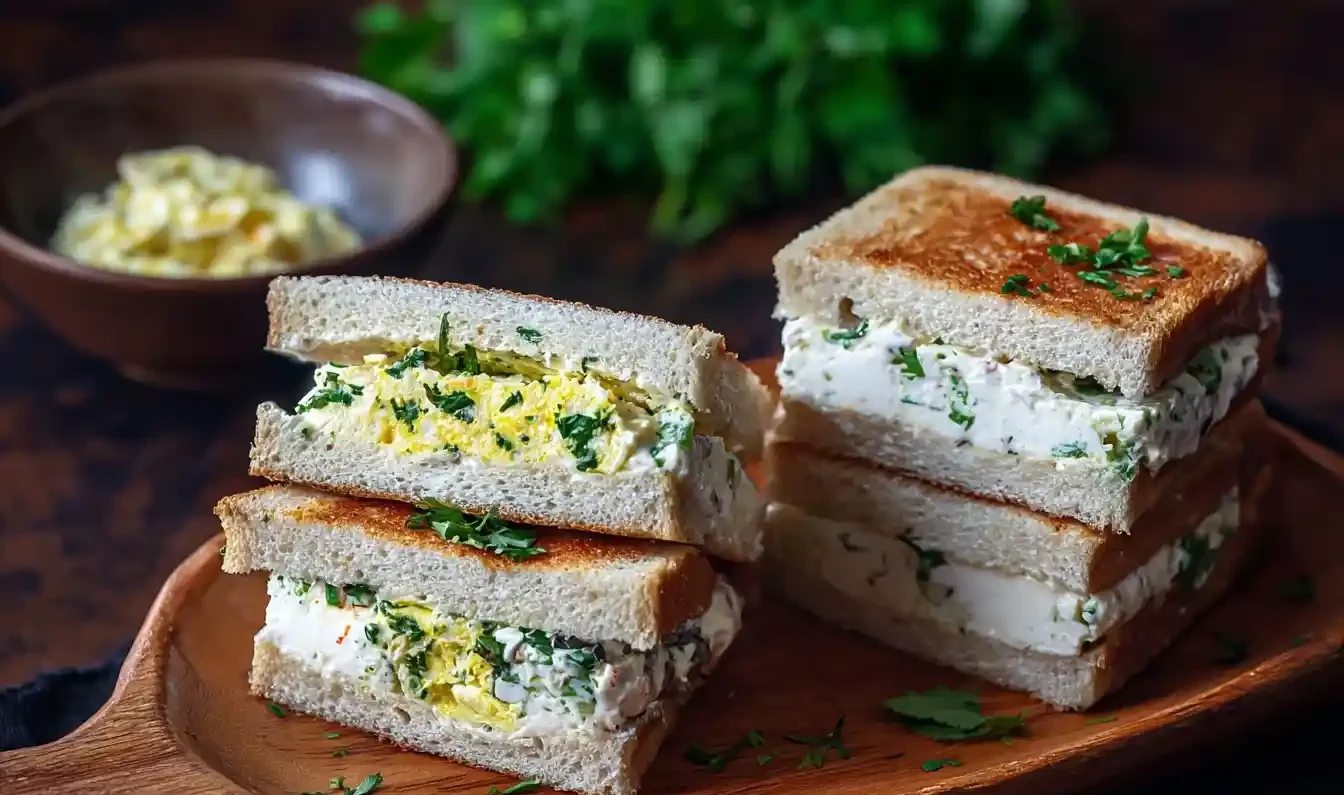
Oh, the simple joy of a truly delicious sandwich! There’s something so comforting about a perfectly crafted bite, and this Creamy Dahi Sandwich takes that comfort to a whole new level. It’s a delightful blend of creamy, spiced yogurt and fresh, crunchy vegetables, all nestled between slices of crispy bread. This Dahi Sandwich is a revelation, proving that simple ingredients, when brought together with a little love, can create something truly magical and satisfying.
I remember countless afternoons in my grandmother’s kitchen, watching her transform everyday ingredients into culinary wonders. It’s where my passion for creating dishes that bring people together truly began. This recipe, much like those cherished memories, is a testament to how even the most humble components can become a star with a personal touch and a dash of creativity.
This easy-to-make recipe is not just family-friendly but also perfect for a quick, comforting meal or a delightful snack. My top tip for this kind of recipe is always to embrace the freshness of your ingredients; they truly make all the difference!

What You Need to Make This Recipe
To create this delightful treat, you’ll be combining the cool tang of thick curd or Greek yogurt with the vibrant crunch of fresh vegetables like onion, cucumber, and carrot. These simple ingredients, elevated with a fragrant blend of ginger, green chili, and a touch of chaat masala, come together to form the heart of our Dahi Sandwich. You’ll find the complete list of ingredients and precise measurements in the recipe card below.
How to Make Dahi Sandwich
Crafting this delightful Dahi Sandwich is wonderfully straightforward, promising a quick and rewarding experience in your kitchen. You’ll begin by preparing the creamy, spiced yogurt and veggie filling, allowing the flavors to meld beautifully. Next, you’ll lovingly assemble the sandwiches, making sure each slice of bread is generously filled. Finally, a quick cook on a pan or griddle transforms them into perfectly crispy, golden-brown delights, ready to be served and savored.
Crispy Spiced Dahi Sandwich
Ingredients
Equipment
Method
- If using regular curd, place it in a muslin cloth or fine-mesh sieve over a bowl and let it drain for at least 30 minutes to an hour in the refrigerator to get thick hung curd. Greek yogurt can be used directly.
- In a large mixing bowl, combine the thick curd/Greek yogurt, finely chopped onion, deseeded cucumber, grated carrot, fresh coriander, green chili, ginger paste, chaat masala, black pepper powder, and salt. Mix everything well until fully combined.
- Taste the filling and adjust seasonings if necessary. Ensure the vegetables are finely chopped to prevent the sandwich from becoming soggy and for easier spreading.
- Take two slices of bread. Spread a thin layer of softened butter on one side of each slice.
- Generously spoon the dahi filling onto the unbuttered side of one bread slice and spread it evenly to the edges.
- Place the second bread slice (butter-side-out) on top of the filling to complete the sandwich. Gently press down.
- Repeat for the remaining bread slices and filling.
- Heat a non-stick tawa or a panini press over medium heat. If using a tawa, add a little butter or oil.
- Place the assembled sandwich onto the hot tawa or panini press. If using a tawa, toast on one side until golden brown and crispy, then flip and toast the other side. If using a panini press, close the lid and cook until golden brown and grill marks appear, usually 3-5 minutes per sandwich.
- For a crispier result, you can press lightly with a spatula while toasting on the tawa.
- Once golden brown and crispy on both sides, remove the sandwich from the heat.
- Cut the Crispy Spiced Dahi Sandwich diagonally or into halves. Serve immediately with ketchup, green chutney, or as is.
Notes
Making a truly exceptional Dahi Sandwich is all about those little touches that elevate it from good to absolutely glorious. I’ve learned a few tricks over the years that I’m excited to share with you, ensuring your sandwiches turn out perfectly every time.
First, My Secret Trick: always use thick curd or Greek yogurt that has been strained thoroughly. This prevents your Dahi Sandwich from becoming soggy and ensures a wonderfully creamy, rich filling that holds its shape beautifully. I often place my yogurt in a cheesecloth-lined sieve over a bowl in the fridge for a few hours, or even overnight, to get that ideal consistency.
Another tip I always recommend is to finely dice your vegetables. Smaller pieces integrate better with the yogurt, creating a more cohesive filling and preventing the sandwich from falling apart. It also ensures every bite offers a balanced blend of flavors and textures.
When you’re assembling, don’t be shy with the butter! I find buttering the bread generously not only helps achieve that perfect golden crispness but also adds a lovely flavor that complements the spiced filling. Make sure your pan is hot enough before placing the sandwiches to get that beautiful sear.
Lastly, I always encourage a gentle hand when mixing the filling. You want to combine everything thoroughly but avoid overmixing, which can break down the yogurt’s texture. This careful approach ensures your Dahi Sandwich has that perfect creamy consistency with delightful vegetable crunch.
Fun Variations for Dahi Sandwich
One of the things I adore about home baking and cooking is the freedom to play and make a recipe truly your own. This Dahi Sandwich is wonderfully adaptable, and I’ve had so much fun experimenting with different twists over the years.
A Touch of Sweetness
My friend, who has a bit of a sweet tooth, loves when I add a tiny pinch of sugar to the Dahi filling. It doesn’t make the sandwich sweet, but rather it balances the tanginess of the yogurt and the spiciness of the masala, creating a more rounded flavor profile for your Dahi Sandwich.
Herbaceous Heaven
For a fresh twist, consider adding finely chopped mint leaves along with the coriander. The mint offers a bright, cooling contrast to the spices, especially lovely on a warm day. I often do this when serving it for a summer picnic.
Cheesy Delight
If you’re a cheese lover, a thin slice of mild cheddar or a sprinkle of grated paneer tucked into the Dahi Sandwich before cooking adds a wonderfully creamy, melty layer. It’s a delightful surprise that kids especially adore!
A Bit More Zing
For those who crave extra heat, finely chopped jalapeños or a dash of red chili powder can be added to the filling. My brother always asks for this spicier version when I make this Dahi Sandwich.
What to Serve With Dahi Sandwich
Serving up a delicious Dahi Sandwich is a treat in itself, but finding the perfect accompaniments can turn a simple meal into a delightful occasion. I love creating a spread that complements the creamy, spiced goodness of these sandwiches.
For a light lunch, I often pair this with a refreshing green salad tossed with a simple lemon vinaigrette. The crispness of the salad offers a wonderful contrast to the soft interior of the Dahi Sandwich. My mom always suggests a side of tangy tamarind chutney or a spicy green chili sauce for dipping; the extra kick really elevates the flavors.
A warm cup of chai or a cool glass of iced tea makes for a lovely beverage pairing, especially if you’re enjoying the Dahi Sandwich as an afternoon snack. And if you’re feeling a little fancy, a small bowl of crispy potato chips or a fresh fruit salad would also be wonderful additions to your table.
How to Store Dahi Sandwich
When you’ve put love into making a delicious Dahi Sandwich, it’s always good to know how to keep any leftovers tasting just as wonderful. Proper storage ensures you can enjoy that fresh flavor later on.
Refrigerator Storage
If you have leftover Dahi Sandwich, the best way to store them is in an airtight container in the refrigerator. This will keep them fresh for up to 1-2 days. I find it best to store them before cooking if possible, especially if you plan to make a batch ahead. However, cooked ones can still be stored.
Reheating Tips
To enjoy your Dahi Sandwich again, I recommend reheating it gently on a non-stick pan over medium heat until it’s warmed through and the bread becomes crispy again. My personal tip for reheating is to add a tiny bit more butter to the pan; it helps revive that delightful crisp exterior without making it dry. Avoid microwaving, as it can make the bread soggy.
Nutritional Benefits
This delicious Dahi Sandwich offers a wonderful blend of flavors and some wholesome goodness too. With thick curd as a base, it provides a good source of protein, essential for keeping you feeling full and satisfied. The fresh vegetables like cucumber, carrot, and onion add dietary fiber and a host of vitamins and minerals, making this a treat that’s both satisfying and nourishing, aligning perfectly with my approach to simple, homemade delights.
FAQs
Faq 1
Can I use regular yogurt instead of Greek yogurt for the Dahi Sandwich?
Yes, but you’ll need to strain regular yogurt much longer to achieve the thick consistency required for the Dahi Sandwich filling. Strain it in a cheesecloth-lined sieve for several hours or overnight in the fridge to remove excess whey.
Faq 2
Can I prepare the Dahi Sandwich filling ahead of time?
Absolutely! You can prepare the spiced yogurt and vegetable filling up to a day in advance. Store it in an airtight container in the refrigerator. This makes assembling your Dahi Sandwich quick and easy when you’re ready to cook.
Faq 3
What kind of bread is best for this Dahi Sandwich recipe?
I recommend using white or whole wheat sandwich bread. Make sure the slices are sturdy enough to hold the filling without tearing. Thicker slices work well to ensure the Dahi Sandwich remains intact during cooking.
Faq 4
Can I bake or air fry the Dahi Sandwich instead of pan-frying?
Yes, you can! To bake, brush with butter and bake at 375°F (190°C) for 10-15 minutes, flipping halfway. For air frying, brush with butter and air fry at 350°F (175°C) for 8-10 minutes, flipping once, until golden and crispy.
Conclusion
There’s something truly special about creating a simple, comforting meal that brings a smile to everyone’s face, and this Creamy Spiced Dahi Sandwich does just that. It’s a recipe born from a love for fresh flavors and the joy of sharing homemade goodness. I hope you embrace the journey of crafting this delightful Dahi Sandwich in your own kitchen, discovering just how magical simple ingredients can be. Remember, every time you bake or cook with love, you’re not just making food; you’re creating cherished memories. Happy cooking, my dear friends!