
There’s something truly magical about turning simple ingredients into a beautiful creation, isn’t there? And when it comes to elegant, versatile garnishes, nothing quite compares to the vibrant charm of dried oranges. These sun-kissed slices, with their translucent beauty and concentrated citrus aroma, aren’t just for looking pretty; they bring a whisper of sunshine to any dish, drink, or decor, reminding us of the simple joys of home and hearth.
I remember my grandmother always had a bowl of something fragrant drying in her kitchen, whether it was herbs from her garden or slices of apple for a winter pie. It taught me the patience and reward of slow processes, transforming the ordinary into something extraordinary. This simple technique feels like a warm hug from those cherished memories, a way to capture the essence of citrus and bring a little bit of that old-world charm into our modern kitchens.
This recipe for perfectly dried oranges in the oven is not only incredibly easy to bake, making it perfect for even the most beginner home baker, but it’s also wonderfully versatile, ready to elevate everything from a festive cocktail to a comforting cake. My top tip? Always choose ripe, unblemished oranges for the best results – their natural sweetness really shines through!
What You Need to Make This Recipe
Crafting these delightful citrus rounds requires just one star ingredient: fresh, ripe oranges. I always gravitate towards navel or Valencia oranges for their beautiful color and balanced sweetness, ensuring each perfectly dried orange slice offers that bright, zesty flavor we adore. The full list of ingredients and precise measurements can be found in the recipe card below, ready for your baking adventure!
How to Make Dried Oranges
Creating these beautiful dried oranges is a journey of transformation, starting with a simple preparation of slicing, moving into a gentle, low-and-slow drying process in your oven, and culminating in perfect cooling and storage. It’s a wonderfully meditative process, and the aroma filling your kitchen will be absolutely divine, making every step a true joy.
Perfectly Dried Orange Slices (Oven Method)
Ingredients
Equipment
Method
- Preheat your oven to the lowest possible setting, typically around 200°F (95°C). Line two large baking sheets with parchment paper.
- Wash the oranges thoroughly under cold running water and dry them completely with a clean towel.
- Using a very sharp knife, slice the oranges into uniform rounds, about 1/8 to 1/4 inch (3-6mm) thick. Thinner slices will dry faster and become crispier, while slightly thicker slices will remain a bit more chewy. Discard the end pieces and remove any visible seeds.
- Lay the orange slices out on paper towels in a single layer. Gently pat the top of the slices with more paper towels to remove as much excess moisture as possible. This step is crucial for faster and more even drying.
- Arrange the patted-dry orange slices on the prepared baking sheets in a single layer, ensuring none of them overlap. Give them a little space for air circulation.
- Place the baking sheets in the preheated oven. Bake for approximately 2 to 4 hours. The exact time will depend on the thickness of your slices and your oven’s efficiency.
- Flip the orange slices every 60 minutes to ensure even drying and prevent them from sticking to the parchment paper. Continue baking until the slices feel dry, slightly leathery, and firm to the touch. They should still have some pliability but not feel moist.
- Once they reach the desired dryness, turn off the oven and leave the orange slices inside with the oven door slightly ajar for another 30-60 minutes, or until the oven cools completely. This helps them crisp up further and ensures all moisture is gone.
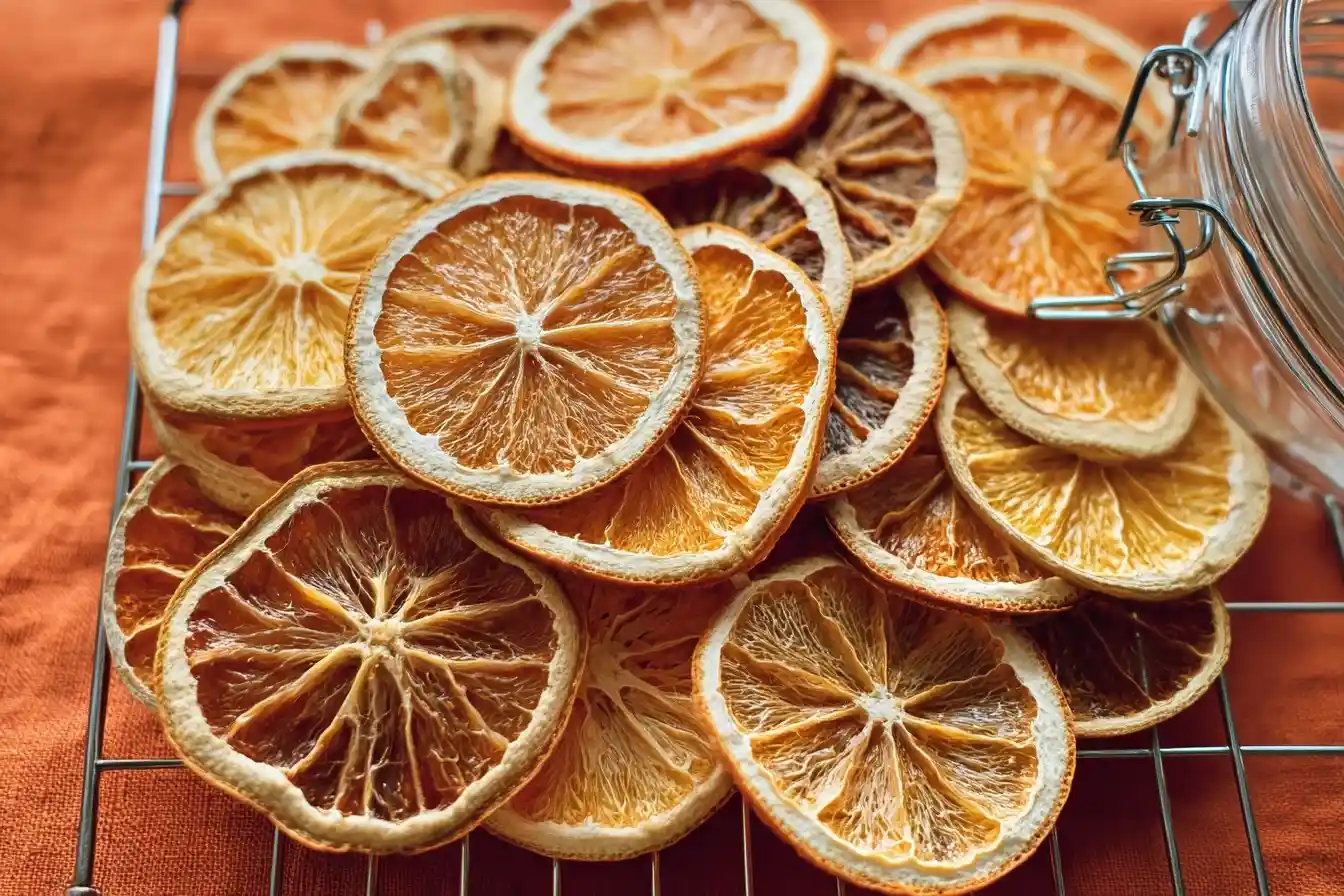
- Remove the dried orange slices from the oven and transfer them to a wire rack to cool completely. They will crisp up even more as they cool.
Notes
Pro Tips for Making This Dried Oranges
Achieving those perfect, translucent dried oranges is all about a little care and attention. Here are a few secrets I’ve learned over the years to ensure your citrus slices turn out beautifully every time.
My Secret Trick: I always use a very sharp knife or even a mandoline to get uniform, thin slices. This is crucial for even drying, preventing some pieces from crisping too quickly while others remain soft. Aim for about 1/8 to 1/4 inch thickness.
Don’t overcrowd your baking sheets! Give your orange slices plenty of space to breathe. If they’re too close together, they’ll steam rather than dry, which can lead to a chewy, rather than crisp, dried orange. I often use two or three baking sheets to give them all the room they need.
Flipping your slices halfway through the long baking time is essential. It ensures both sides get equal exposure to the heat, promoting even drying and preventing them from sticking to the parchment paper. It’s a small step that makes a big difference to your finished dried oranges.
Keep an eye on them, especially towards the end of the 240-minute cook time. Ovens can vary, and what’s perfectly dried in one might be slightly overdone in another. You’re looking for firm, leathery, and somewhat translucent slices.
Fun Variations for Dried Oranges
One of the things I adore about dried oranges is how wonderfully adaptable they are! While perfect on their own, a little creative twist can elevate them even further. My sister always asks me to make a batch with a touch of spice for her holiday drinks.
For a warm, aromatic twist, sprinkle a tiny pinch of ground cinnamon or even a whisper of star anise onto the orange slices before drying. This infusion of spice is divine for festive garlands or winter drinks.
If you’re feeling a little fancy, a light brush of maple syrup or a honey glaze on one side before baking can add a lovely subtle sweetness and a beautiful sheen to your dried oranges, perfect for decorating cakes or tarts.
A friend loves when I prepare a mixed citrus batch! Try adding thin slices of lemons, limes, or grapefruits alongside your oranges. The array of colors and slightly different flavor profiles makes for a stunning and vibrant garnish or snack.
What to Serve With Dried Oranges
These charming dried oranges are far more versatile than just a pretty face! I love finding ways to incorporate them into everyday delights, making everything feel a little more special. My mom always pairs them with a steaming cup of Earl Grey tea in the afternoon, which feels so wonderfully comforting.
They make an absolutely exquisite garnish for cocktails and mocktails, adding both beauty and a gentle citrus aroma. Imagine a beautiful old fashioned or a sparkling cider adorned with a delicate dried orange slice – pure elegance!
For a simple yet elegant dessert, I love tucking a few dried orange slices into a bowl of vanilla bean ice cream or alongside a rich chocolate mousse. The bright citrus cut through the sweetness beautifully.
They’re also a fantastic addition to charcuterie boards, offering a burst of color and a zesty counterpoint to cheeses and cured meats. And for a quick serving idea, simply add them to a glass jar with a ribbon for a thoughtful, homemade gift.
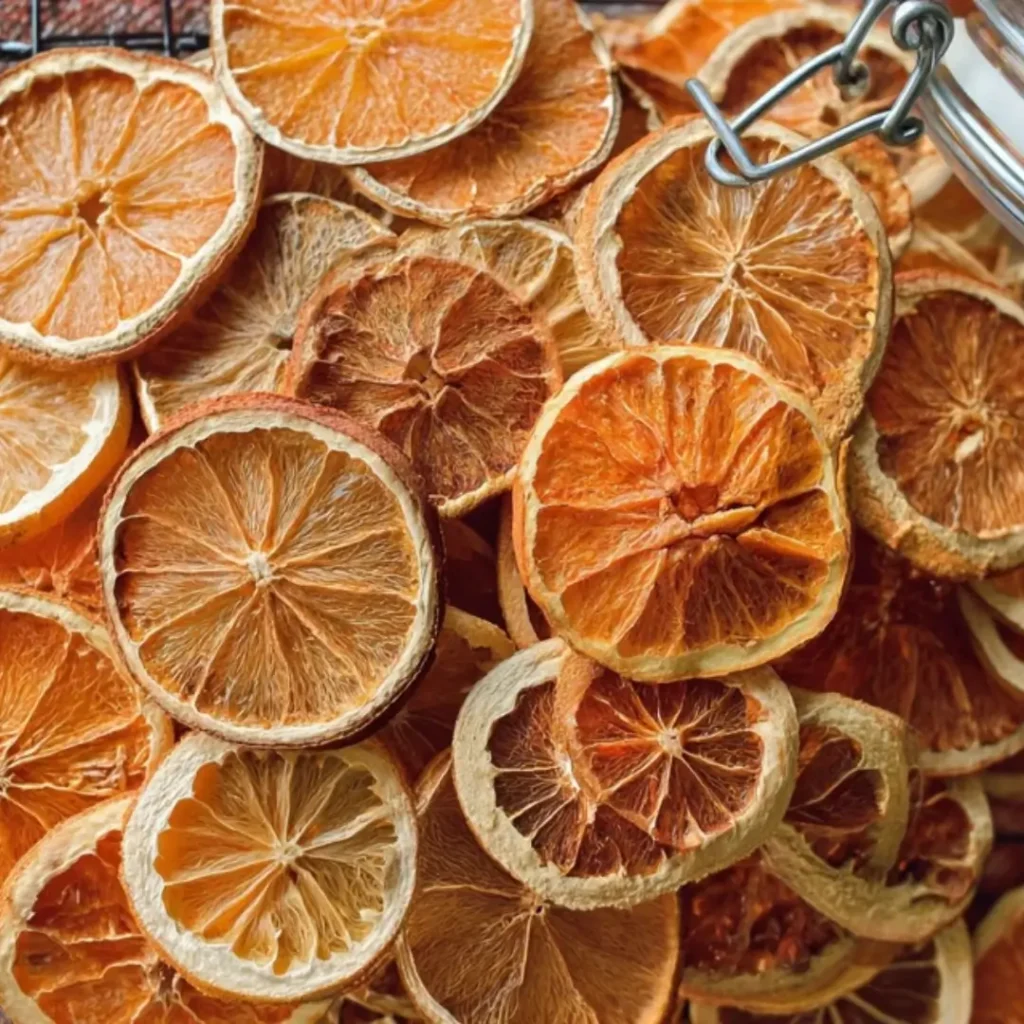
How to Store Dried Citrus Slices
Keeping your beautiful dried oranges fresh and flavorful is wonderfully simple, ensuring you can enjoy their bright charm for weeks or even months. I always like storing mine in a clear glass jar on the counter, not just for convenience, but because they look so pretty!
Once your dried orange slices are completely cool, transfer them to an airtight container. A glass jar with a tight-fitting lid works perfectly, or even a heavy-duty zip-top bag. Store them in a cool, dark place, like your pantry, away from direct sunlight or humidity. This helps to maintain their crispness and vibrant color.
For even longer storage, up to several months, you can freeze them. Just make sure they are thoroughly dry and completely cooled before placing them in an airtight freezer-safe bag or container. When you’re ready to use them, simply let them come to room temperature. My personal tip for making them feel extra fresh after storage? A quick, gentle reheat in a very low oven for a few minutes can revive any hint of moisture and bring back their crisp texture beautifully.
Nutritional Benefits
While these lovely dried oranges are certainly a treat for the eyes and taste buds, they also offer a little dose of goodness. Made simply from fruit, they retain some of the natural vitamins and fiber found in fresh oranges. It’s my way of showing that a dessert or garnish can be both satisfyingly delicious and nourishing, a testament to the wholesome magic of simple ingredients.
FAQs
Faq 1
Can I use any type of orange?
Yes, absolutely! While Navel and Valencia oranges are often preferred for their beauty and sweetness, you can use any variety you have on hand. Just ensure they are ripe and blemish-free for the best results with your dried oranges.
Faq 2
How do I know when the oranges are fully dried?
Your dried oranges are ready when they feel firm and leathery to the touch, and are no longer sticky or soft in the center. They should also be somewhat translucent when held up to the light, indicating most of the moisture is gone.
Faq 3
Can I make these without a mandoline?
Certainly! A very sharp knife is all you need. Focus on slicing the oranges as thinly and uniformly as possible, about 1/8 to 1/4 inch thick, to ensure even drying for your beautiful dried oranges.
Faq 4
What if my dried oranges aren’t crispy?
If your dried oranges aren’t as crispy as you’d like, it means they still contain some moisture. Simply pop them back into a very low oven (around 200°F/95°C) for another 30-60 minutes, checking periodically, until they reach your desired crispness.
Conclusion
Creating dried oranges at home is such a wonderfully rewarding experience, transforming simple citrus into a versatile and beautiful garnish that speaks volumes of homemade charm. It’s a gentle reminder that some of the most delightful kitchen creations come from patience and a touch of love. I truly hope you’ll try this recipe and discover the pure joy of making these bright, zesty wonders, bringing a little extra sunshine to your kitchen and creating sweet memories with every perfectly dried slice. Happy baking, my dears!