
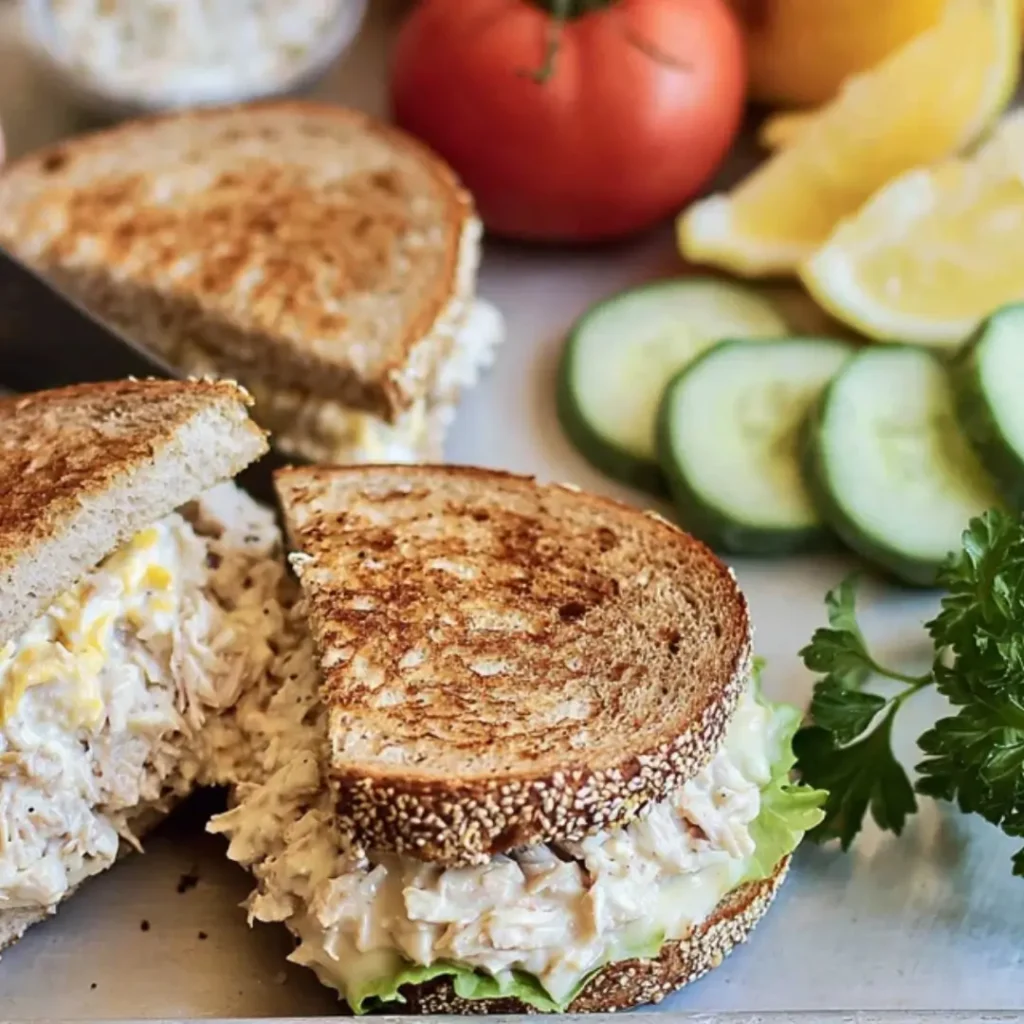
Oh, friends, there’s nothing quite like the comforting embrace of a warm, golden Tuna Melt Sandwich (Easy 30 Min. Recipe). It’s that perfect blend of creamy, savory tuna salad, melty cheese, and buttery, toasted bread that instantly transports you back to simpler times. This isn’t just a quick meal; it’s a hug in sandwich form, perfect for any day you crave something truly satisfying.
I remember countless afternoons in my grandmother’s kitchen, not always with sweet desserts, but often with her whipping up quick, comforting meals. She had a knack for turning everyday ingredients into something special, and a good sandwich was always a masterpiece in her hands. That same spirit of simple joy and heartfelt cooking lives on in this recipe.
This classic sandwich offers the best of both worlds: it’s incredibly easy to make, coming together in about 30 minutes, and it’s a guaranteed family favorite. My top tip for any home cook, whether baking a cake or assembling a sandwich, is to always taste as you go – your palate is your best guide!
What You Need to Make This Recipe
Crafting the perfect tuna melt starts with a few humble, yet mighty, ingredients. Good quality canned tuna is, of course, the star, marrying beautifully with the creamy mayonnaise and crisp celery for that essential texture and flavor. It’s a treat that feels both satisfying and nourishing, proving that a Tuna Melt Sandwich (Easy 30 Min. Recipe) can be a wholesome delight. You’ll find the full list of ingredients and precise measurements in the recipe card just below.
How to Make Tuna Melt Sandwich (Easy 30 Min. Recipe)
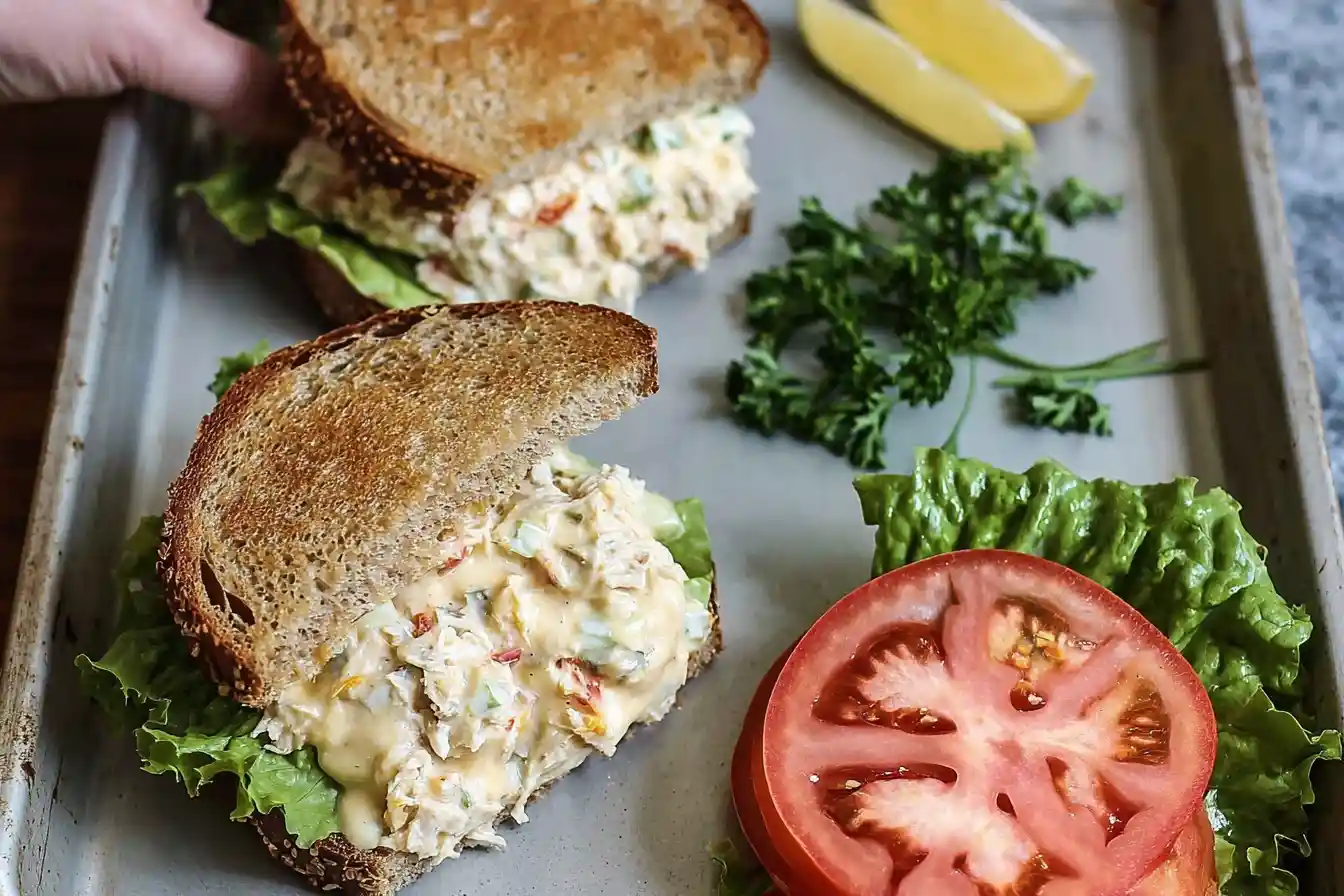
Making this incredible Tuna Melt Sandwich (Easy 30 Min. Recipe) is a breeze, divided into two simple steps. First, you’ll whip up the wonderfully flavorful tuna salad by combining all your fresh ingredients. Then, it’s time to assemble your sandwiches with a generous layer of cheese before toasting them to golden perfection in a buttery skillet. You’ll be enjoying a warm, crispy, and utterly delicious meal in no time at all.
Classic Tuna Melt Sandwich (Easy 30-Minute Recipe)
Ingredients
Equipment
Method
- Open and thoroughly drain the canned tuna. Use a fork or spoon to press out as much liquid as possible. Transfer the drained tuna to a medium mixing bowl.
- Add the mayonnaise, finely diced celery, minced red onion, Dijon mustard, salt, and black pepper to the bowl with the tuna. Mix well with a fork until all ingredients are evenly combined.
- Evenly spread softened butter on one side of each slice of bread. If using olive oil spray, lightly mist one side of each slice.
- Place two slices of bread, butter-side down, in your chosen cooking vessel (air fryer, skillet, or toaster oven).
- Divide the tuna salad evenly between the two bread slices, spreading it to the edges. Top each tuna-covered slice with two slices of cheese.
- Place the remaining two slices of bread on top of the cheese, butter-side up.
- Cook using your preferred method:
- * **Air Fryer:** Cook at 350°F (175°C) for 6-10 minutes, flipping halfway through, until golden brown and cheese is melted.
- * **Skillet:** Cook over medium heat for 4-6 minutes per side, until bread is golden brown and cheese is bubbly and melted.
- * **Toaster Oven (Broil Setting):** Toast on the bottom rack for 3-5 minutes until the bottom is golden, then broil on the top rack for 2-4 minutes until the cheese is melted and bubbly and the top bread is lightly toasted.
- Carefully remove the sandwiches from the heat. Let them cool for a minute or two before slicing in half diagonally. Serve immediately.
Notes
Pro Tips for Making This Tuna Melt Sandwich (Easy 30 Min. Recipe)
Creating a truly memorable Tuna Melt Sandwich (Easy 30 Min. Recipe) is all about those little touches that elevate it from good to absolutely glorious. Here are a few secrets I’ve learned over the years to ensure every bite is perfect.
- Drain Your Tuna Well: This might seem obvious, but really pressing out excess water or oil from your canned tuna is crucial. It prevents a soggy sandwich and ensures your tuna salad is rich and creamy, not watery. My grandmother always said, “A dry foundation makes for a sturdy meal!”
- Don’t Skimp on the Butter: For that irresistible golden crust, don’t be shy with the butter when toasting your bread. A good spread on the outside of each slice will give you a beautifully crisp exterior that is simply divine.
- My Secret Trick: I always grate my cheese instead of using pre-shredded. Freshly grated cheese melts so much more smoothly and evenly, creating that wonderfully gooey texture we all adore in a classic tuna melt.
- Low and Slow for Melty Perfection: Resist the urge to crank up the heat too high. Cooking the sandwich over medium-low heat allows the cheese ample time to melt into a dreamy, golden pool without burning the bread. Patience truly pays off with this Tuna Melt Sandwich (Easy 30 Min. Recipe).
Fun Variations for Tuna Melt Sandwich (Easy 30 Min. Recipe)
While the classic Tuna Melt Sandwich (Easy 30 Min. Recipe) holds a special place in my heart, the beauty of home cooking is in making it your own! Here are a few creative twists that friends and family adore, encouraging you to experiment with confidence.
- ### Spicy Kick
For those who love a bit of heat, try adding a dash of hot sauce or a pinch of red pepper flakes to your tuna salad. A friend of mine swears by a tiny bit of sriracha mixed in for an extra zing that wakes up the flavors beautifully. - ### Mediterranean Flair
Swap out a bit of the mayonnaise for Greek yogurt and add some finely chopped Kalamata olives, sun-dried tomatoes, or a sprinkle of dried oregano. This gives your classic Tuna Melt Sandwich (Easy 30 Min. Recipe) a bright, tangy, and wonderfully aromatic twist. - ### Garden Fresh
Enhance the fresh crunch by adding other finely diced vegetables to your tuna salad, such as bell peppers, cucumber, or even some shredded carrots. My sister always asks me to add a touch of fresh dill for an herbaceous note she loves. - ### Cheese Please!
Experiment with different cheeses! While cheddar is classic, Swiss, provolone, or even a smoky Gouda can add unique depth and character to your tuna melt. Try a combination for a truly gourmet feel!
What to Serve With Tuna Melt Sandwich (Easy 30 Min. Recipe)
A perfectly crafted Tuna Melt Sandwich (Easy 30 Min. Recipe) is a meal in itself, but a few simple accompaniments can make it a truly delightful experience. I love making meals feel complete, just like my grandmother did.
- Crisp Green Salad: A light, refreshing green salad with a simple vinaigrette is the perfect counterpoint to the rich and creamy sandwich. It adds freshness and a lovely crunch.
- Tomato Soup: There’s nothing more classic than a warm, comforting bowl of tomato soup alongside a grilled cheese (or in this case, a tuna melt!). The creamy soup and the savory sandwich are a match made in heaven, especially on a chilly day.
- Pickles or Coleslaw: The tangy, briny crunch of a good dill pickle spear or a side of homemade coleslaw cuts through the richness of the Tuna Melt Sandwich (Easy 30 Min. Recipe) beautifully, adding a delightful contrast.
- Potato Chips: For a quick and easy side that brings a nostalgic diner feel, a handful of crispy potato chips is always a welcome addition. My mom always paired them together for a satisfying lunch.
How to Store Tuna Melt Sandwich (Easy 30 Min. Recipe)
Sometimes, despite our best intentions, there are leftovers! Knowing how to properly store your Tuna Melt Sandwich (Easy 30 Min. Recipe) ensures you can enjoy its comforting flavors again without losing that deliciousness.
- ### Fridge Storage
If you have leftover sandwiches, allow them to cool completely. Wrap each sandwich individually in parchment paper or foil, then place them in an airtight container in the refrigerator for up to 2-3 days. This prevents them from drying out. - ### Reheating for Best Results
To reheat, I always recommend using a skillet or a toaster oven rather than a microwave. Heat over medium-low heat until the cheese is re-melted and the bread is crispy again. This brings back that wonderful texture. A quick tip from my kitchen: if you just have the tuna salad leftover, store it in an airtight container and assemble fresh sandwiches when ready to eat for the best experience.
Nutritional Benefits
Don’t let the “sandwich” part fool you; a Tuna Melt Sandwich (Easy 30 Min. Recipe) offers some notable benefits! Canned tuna is an excellent source of lean protein and omega-3 fatty acids, which are great for heart health. Combined with crisp celery and onions, it’s a treat that’s both satisfying and nourishing, fitting perfectly into my approach of simple, wholesome ingredients.
FAQs
Faq 1
What kind of tuna is best for this recipe?
I recommend using canned tuna packed in water for a lighter, fresher taste, or tuna packed in olive oil for a richer flavor. Just be sure to drain it very well for the best Tuna Melt Sandwich (Easy 30 Min. Recipe) texture.
Faq 2
Can I prepare the tuna salad ahead of time?
Absolutely! The tuna salad can be made up to 2 days in advance and stored in an airtight container in the refrigerator. This makes assembling your Tuna Melt Sandwich (Easy 30 Min. Recipe) even quicker!
Faq 3
What type of bread works best for tuna melts?
A sturdy sandwich bread, like a good quality white or sourdough, works wonderfully. Its structure holds up well to the filling and toasts beautifully, giving your Tuna Melt Sandwich (Easy 30 Min. Recipe) that perfect crispness.
Faq 4
How do I get the cheese perfectly melted and gooey?
The trick is gentle heat. Cook the sandwich over medium-low heat, and don’t be afraid to cover the pan for a minute or two. This traps heat, helping the cheese inside your Tuna Melt Sandwich (Easy 30 Min. Recipe) to melt evenly and become wonderfully gooey.
Conclusion
There you have it, dear friends! A truly classic Tuna Melt Sandwich (Easy 30 Min. Recipe) that proves delicious, comforting meals don’t need to be complicated or take hours. This recipe is a testament to the joy of simple ingredients coming together to create something truly magical. I hope you’ll embrace the warmth and nostalgia of this quick meal, gathering your loved ones around the table to create new memories, one delicious bite at a time. Happy cooking!