
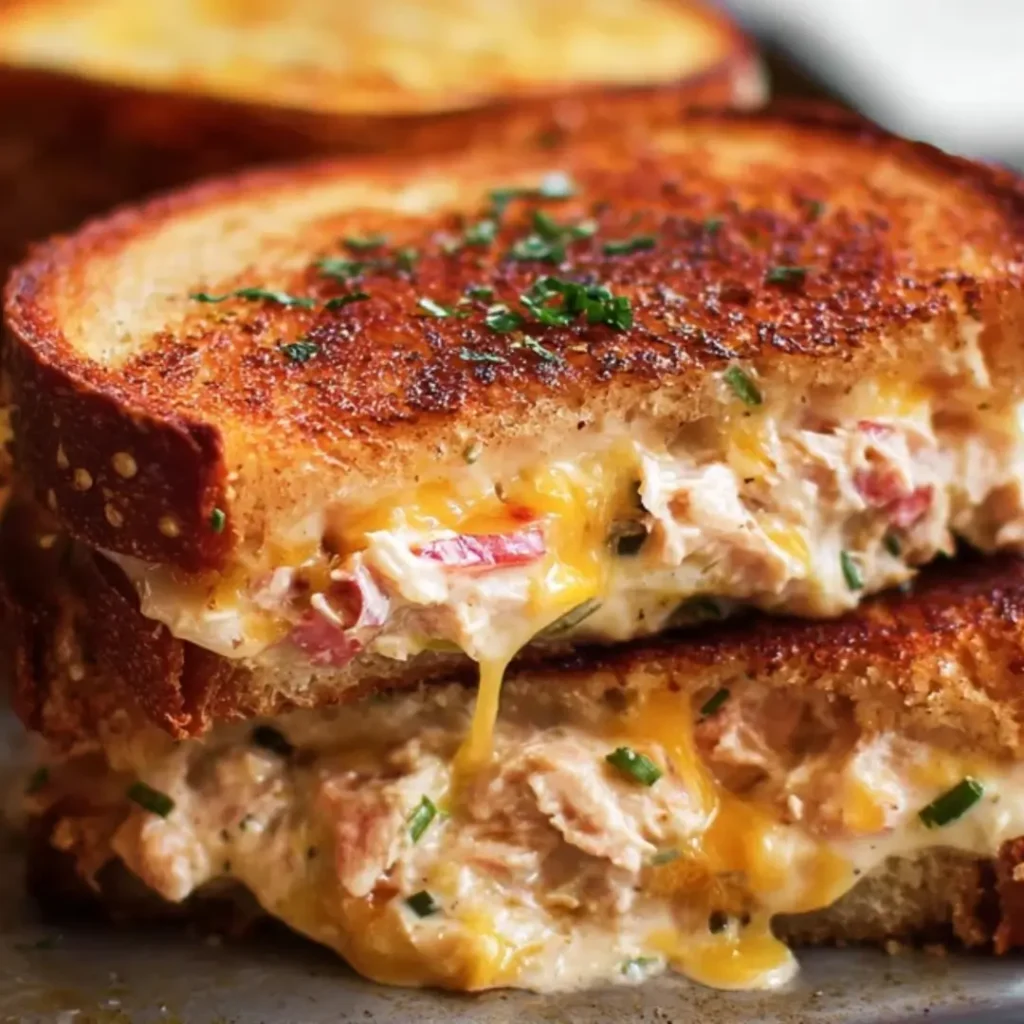
Oh, friends, there are just some tastes that instantly transport you back, aren’t there? For me, the savory, golden perfection of a classic tuna melt is one of those culinary hugs. It’s that wonderfully satisfying crunch of toasted bread, the creamy, tangy tuna salad nestled inside, and that gloriously gooey, melted cheddar cheese bringing it all together. It’s more than just a sandwich; it’s a symphony of textures and flavors that feels like coming home.
I remember countless afternoons spent in my grandmother’s kitchen, not just with her legendary chocolate chip cookies, but also with simpler, savory delights. She had a way of making even the most humble ingredients feel special, transforming them with a little love and a lot of patience. This classic tuna melt recipe carries that same spirit, a testament to how everyday ingredients can create something truly memorable.
This delightful sandwich is not only incredibly easy to prepare, making it perfect for a quick lunch or a comforting dinner, but it’s also wonderfully adaptable for the whole family. My best advice for any sandwich, especially this one, is to always start with the freshest ingredients you can find – it truly makes all the difference!
What You Need to Make This Recipe
Crafting this beloved sandwich starts with simple, wholesome ingredients you likely already have on hand. The stars of the show are, of course, the flaky tuna and creamy mayonnaise, brightened by crisp celery and a hint of fresh lemon juice, all embraced by sturdy bread and rich cheddar cheese. It’s a beautiful dance of textures and tastes that defines a perfect tuna melt. You’ll find the complete list of ingredients and precise measurements in the recipe card below.
How to Make tuna melt
Whipping up this comforting classic is wonderfully straightforward, promising delicious results with minimal fuss. You’ll begin by creating the creamy, flavorful tuna salad that forms the heart of the sandwich. Next, you’ll lovingly assemble your sandwiches, preparing them for their transformation. Finally, you’ll cook these beauties until they’re golden, toasty, and utterly irresistible, ready to be served warm.
Classic Diner-Style Tuna Melt
Ingredients
Equipment
Method
- In a medium mixing bowl, flake the drained tuna with a fork. Add the mayonnaise, finely diced celery, minced red onion, dill pickle relish, Dijon mustard, and fresh lemon juice. Mix gently until all ingredients are well combined. Season with salt and black pepper to taste.
- Lay the four slices of bread on a clean surface. Generously butter one side of each slice. This will be the side that browns in the skillet.
- Flip two of the bread slices so the unbuttered side is facing up. Evenly spread half of the tuna salad mixture onto each of these unbuttered sides. Place a slice of cheese (or half of the shredded cheese) on top of the tuna salad on each sandwich. Top with the remaining two slices of bread, buttered-side up.
- Heat a large skillet or frying pan over medium-low heat. Once warm, carefully place the assembled tuna melts into the pan.
- Cook for 4-6 minutes per side, or until the bread is golden brown and crispy, and the cheese is completely melted and gooey. You may need to press down gently with a spatula occasionally to ensure even contact with the pan. If the bread browns too quickly, reduce the heat.
- Once cooked, carefully remove the tuna melts from the skillet. Slice them in half diagonally and serve immediately with your favorite side, such as a pickle spear, chips, or a simple green salad.
Notes
**Add-ins**: For extra crunch and flavor, consider adding a pinch of finely chopped bell pepper or capers to your tuna salad.
**Storage**: Tuna melts are best enjoyed fresh. Leftovers can be stored in an airtight container in the refrigerator for up to 1 day, but the bread will lose its crispness.
Pro Tips for Making This tuna melt
Achieving that perfect diner-style tuna melt is all about a few simple tricks I’ve picked up over the years. These aren’t just tips; they’re whispers from my own kitchen, guiding you to a truly sensational sandwich.
Choose your bread wisely! A good, sturdy sandwich bread, like a hearty sourdough or a classic white, will hold up beautifully without getting soggy. Avoid anything too thin or delicate.
Don’t be shy with the cheese! Layer it generously on both sides of the tuna salad. This ensures every bite gets that lovely, gooey pull, and it helps create a barrier, keeping the bread from getting too wet.
My Secret Trick: Before cooking, spread a very thin layer of mayonnaise on the outside of the bread instead of butter. It creates the most incredibly golden, crispy crust that’s truly unmatched. Trust me on this for your tuna melt!
Cook your sandwiches over medium-low heat. This allows the bread to toast slowly and evenly to a beautiful golden brown while giving the cheese ample time to melt into a wonderfully gooey, irresistible state.
Fun Variations for tuna melt
One of the joys of cooking at home is making a recipe truly your own, and this classic tuna melt is wonderfully forgiving when it comes to playful twists! Don’t be afraid to get creative and adapt it to your family’s tastes or what you have on hand.
Spice It Up!
My friend Sarah always asks for a little kick in her tuna melt. Try adding a pinch of red pepper flakes, a dash of hot sauce to the tuna salad, or even a few slices of pickled jalapeños before grilling. It adds a delightful zing!
Cheese, Please!
While cheddar is classic, don’t hesitate to experiment with other cheeses. Provolone offers a milder, meltier experience, Swiss cheese adds a nutty flavor, or a Monterey Jack for extra creaminess. A blend of cheeses can also create a wonderful depth of flavor.
Veggie Boost
Stir in some finely diced bell peppers, shredded carrots, or even a handful of fresh spinach into your tuna salad for an extra dose of veggies and crunch. My family loves when I add a slice of ripe tomato right before grilling for a fresh burst.
Open-Faced Delight
For a lighter, less bread-heavy option, try making your tuna melt open-faced. Simply toast one slice of bread, pile on the tuna salad, top with cheese, and pop it under the broiler until bubbly and golden.

What to Serve With tuna melt
A warm, comforting tuna melt is often a meal in itself, but a few simple accompaniments can elevate it into a truly satisfying spread! Think of it as rounding out a cozy, comforting experience, just like my grandmother used to do with her Sunday dinners.
My absolute favorite way to enjoy a tuna melt is alongside a bowl of hot, creamy tomato soup. The rich, tangy soup is the perfect counterpart to the savory sandwich, especially on a chilly day. It’s a combination that brings instant comfort.
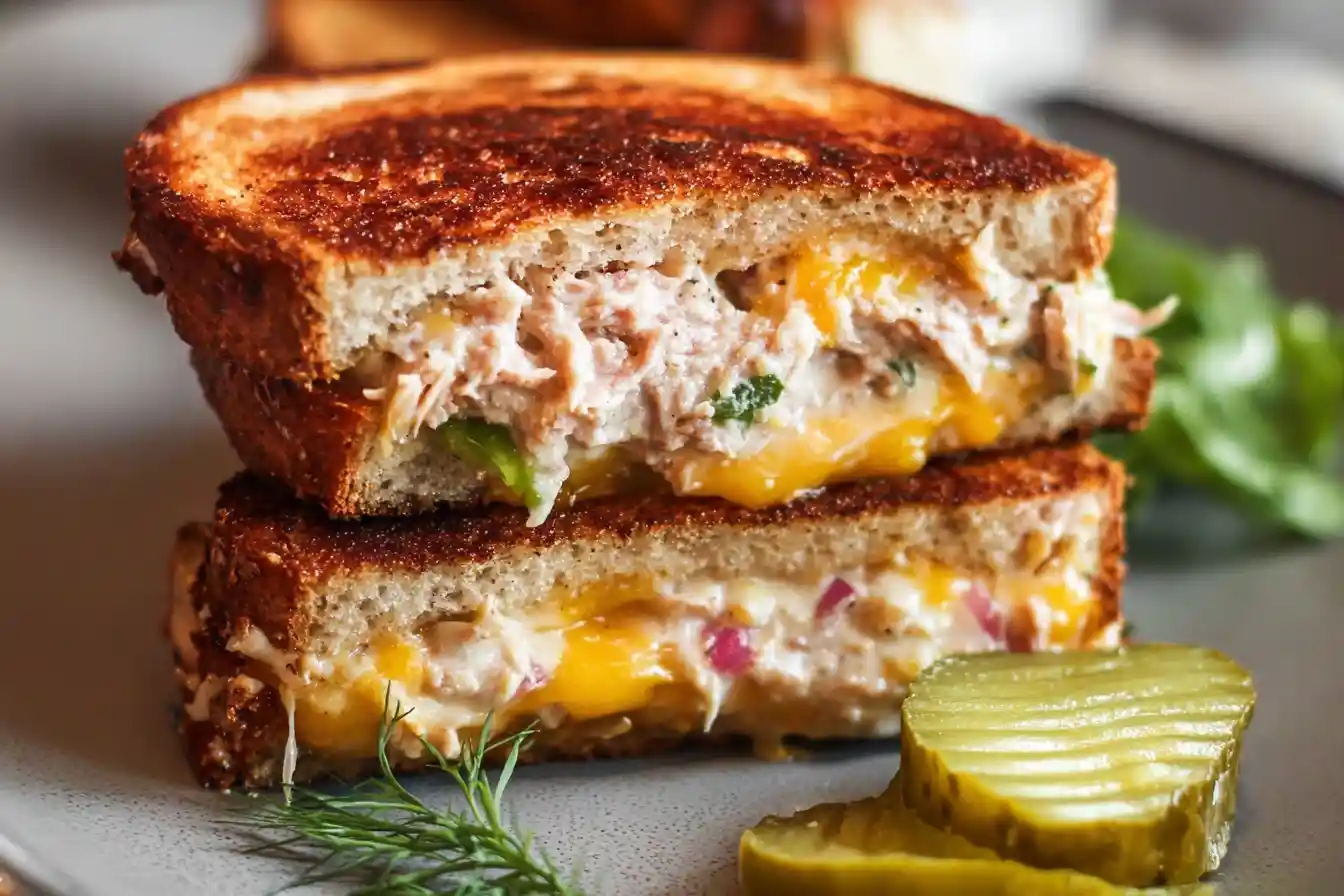
For a classic diner feel, serve your golden-brown sandwich with a generous side of crispy potato chips and a crisp dill pickle spear. It’s a simple pairing that never disappoints and adds a delightful crunch.
If you’re looking for something fresh, a simple green salad with a light vinaigrette is a fantastic choice. It cuts through the richness of the cheese and tuna, offering a refreshing contrast that makes the meal feel perfectly balanced. Sometimes, I even add a side of fresh fruit, like apple slices or grapes, for a touch of sweetness.
How to Store This Comfort Classic
It’s rare to have leftover tuna melt in my house, but if you do, knowing how to store it properly ensures you can enjoy that deliciousness again! I always say, good food should never go to waste, and with a few simple steps, you can keep your leftovers fresh and tasty.
Fridge Storage
If you have any leftover tuna melts, let them cool completely to room temperature. Then, wrap each sandwich individually in plastic wrap or aluminum foil, or place them in an airtight container. They will keep beautifully in the refrigerator for up to 2-3 days. My personal tip for sandwiches is to always wrap them well to prevent the bread from drying out.
Reheating Tips
To bring your tuna melt back to life, I recommend reheating it in a dry skillet over medium-low heat until the bread is re-crisped and the cheese is melted and gooey again. You can also pop it in a toaster oven. Avoid the microwave if you can, as it tends to make the bread soggy. A lightly re-toasted tuna melt is almost as good as fresh!
Nutritional Insights
While we often think of this comfort food as pure indulgence, a homemade tuna melt offers some wonderful nutritional benefits. Tuna itself is an excellent source of lean protein and essential omega-3 fatty acids, which are great for heart health. When you combine this with crisp celery and red onion, you’re adding fiber and vitamins. It’s a delicious example of how simple ingredients can come together for a satisfying and nourishing treat, proving that comforting food can be both delightful and contribute to a balanced meal.
FAQs
Faq 1
What’s the best type of bread for a tuna melt?
I always recommend a sturdy bread like sourdough, rye, or a good quality white bread. It needs to be firm enough to hold the creamy tuna salad and melted cheese without falling apart, especially when it gets warm and toasty!
Faq 2
Can I prepare the tuna salad ahead of time?
Absolutely! The tuna salad can be made up to 1-2 days in advance and stored in an airtight container in the refrigerator. This makes assembling the tuna melt quick and easy when you’re ready to cook.
Faq 3
How do I get my tuna melt extra crispy?
For that irresistible crunch, make sure to spread butter or, my secret trick, mayonnaise on the outside of the bread. Cook it over medium-low heat in a skillet, pressing down gently, until both sides are deeply golden brown and crispy.
Faq 4
What if I don’t like dill pickle relish?
No worries at all! You can easily swap dill pickle relish for finely chopped capers for a briny kick, or simply omit it if you prefer. A bit of finely diced sweet onion can also add a nice flavor without the pickle.
Conclusion
Creating a classic tuna melt is more than just making a sandwich; it’s about crafting a moment of comfort, a little escape into warmth and flavor. This recipe embodies everything I adore about homemade cooking: it’s approachable, deeply satisfying, and has that magical ability to bring smiles and spark memories. I genuinely hope you invite this beloved tuna melt into your kitchen and let it fill your home with its comforting aroma. Happy cooking, sweet friends, and may your kitchen always be a place of joy and delicious discoveries!