
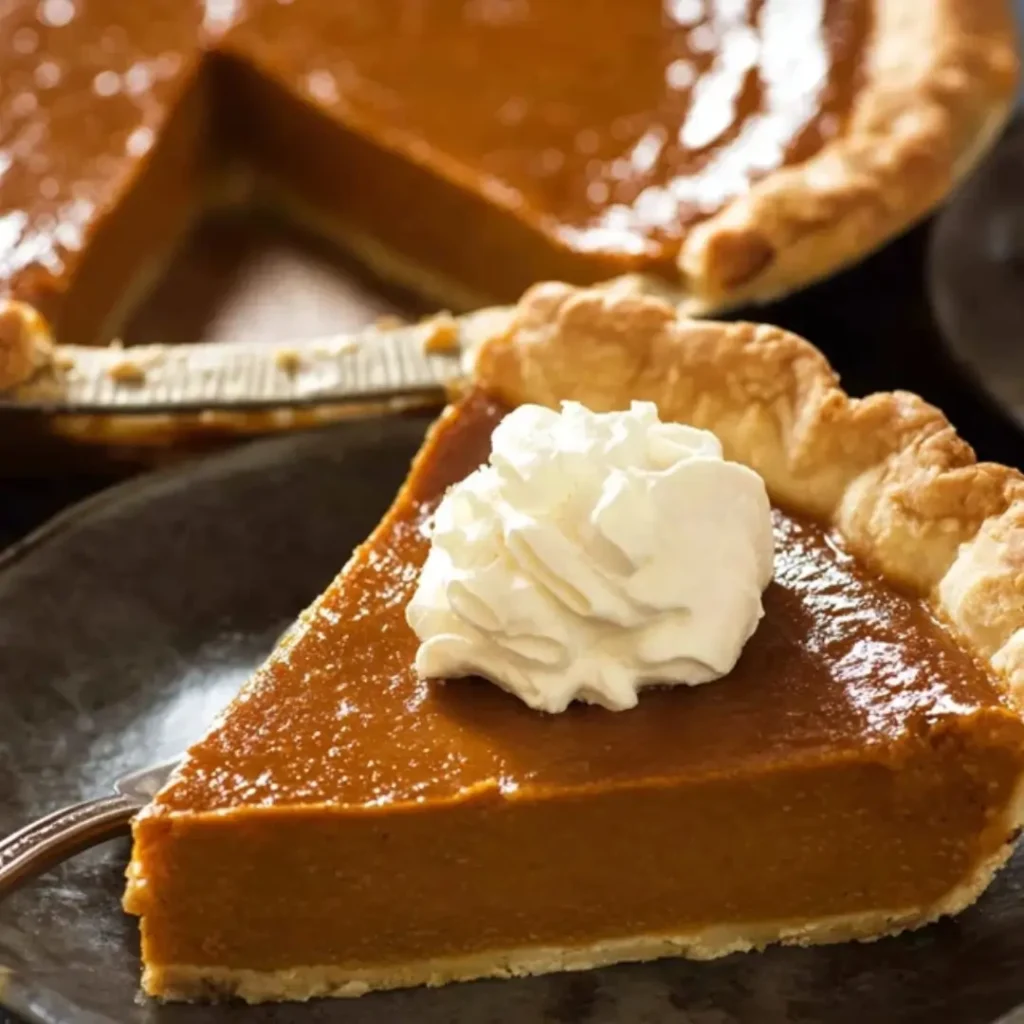
There’s a certain magic that happens when you bake a Pumpkin Pie from scratch, isn’t there? The air fills with the warm embrace of cinnamon, ginger, and nutmeg, promising a slice of pure comfort. Each bite of this creamy, spiced custard nestled in a perfectly flaky crust is like a sweet hug, reminding us that some flavors are simply timeless, bringing joy with every spoonful.
I remember those crisp autumn afternoons in Grandma’s kitchen, her hands dusted with flour as she taught me the secrets of a truly remarkable pie. It wasn’t just about the recipe; it was about the love, patience, and the joy of creating something truly special. We’d hum old tunes while the aroma of baking filled every corner, making memories as sweet as the pies themselves.
This recipe for Classic Creamy Pumpkin Pie is wonderfully straightforward, making it perfect for both seasoned bakers and those just starting their dessert journey. It’s incredibly family-friendly, promising a delightful treat that brings everyone to the table. My best advice for any pie, especially this one, is to trust your instincts, and don’t be afraid to embrace the process – the kitchen is a place for creativity, after all!
What You Need to Make This Recipe
Crafting this delightful dessert means gathering simple, wholesome ingredients that transform into pure magic. I always choose a good quality pumpkin puree for that essential, rich flavor, and a blend of warm spices like cinnamon and nutmeg really makes this Pumpkin Pie sing. The evaporated milk and eggs are key to that wonderfully smooth, creamy texture we all adore. You’ll find the full list of ingredients and precise measurements ready for you in the recipe card just below!
How to Make Pumpkin Pie
Making this classic creamy treat is a beautiful dance of simple steps, much like many of my grandmother’s most cherished recipes. First, you’ll prepare your oven and the flaky, all-butter pie crust, ensuring it’s ready for its delicious destiny. Then, whisk together the rich, spiced pumpkin filling until it’s perfectly smooth. Finally, pour it into your prepared crust and bake until golden brown and set. It’s a process that fills your home with the most inviting aromas.
Classic Creamy Pumpkin Pie
Ingredients
Equipment
Method
- Preheat your oven to 425°F (220°C). If using a homemade pie crust, blind bake it according to your recipe’s instructions, then cool slightly. If using a store-bought unbaked crust, simply place it on a baking sheet.
- In a large mixing bowl, whisk together the granulated sugar, light brown sugar, ground cinnamon, ground ginger, ground nutmeg, ground cloves, and salt until well combined and no lumps remain.
- In a separate medium bowl, whisk the pumpkin puree, lightly beaten eggs, evaporated milk, and vanilla extract until smooth.
- Gradually add the wet pumpkin mixture to the dry sugar and spice mixture, whisking constantly until the filling is completely smooth and evenly colored.
- Carefully pour the pumpkin pie filling into the unbaked 9-inch pie crust. Tap the pie plate gently on the counter a few times to release any air bubbles.
- Place the pie on the baking sheet in the preheated oven. Bake at 425°F (220°C) for 15 minutes.
- After 15 minutes, reduce the oven temperature to 350°F (175°C) and continue baking for another 40-50 minutes, or until the center is just set but still slightly wobbly. A knife inserted near the edge should come out clean. If the crust edges are browning too quickly, loosely tent with aluminum foil.
- Carefully remove the pie from the oven and transfer it to a wire rack to cool completely for at least 2-3 hours. The pie will continue to set as it cools.
- Once cooled to room temperature, cover the pie loosely and refrigerate for at least 4 hours, or preferably overnight, before slicing and serving. This allows the pie to fully set and enhances its flavor.
Notes
Baking a truly exceptional Pumpkin Pie is all about those little touches that elevate a good recipe to a great one. I’ve learned a few tricks over the years that I’m excited to share!
My Secret Trick: I always pre-bake or ‘blind bake’ my pie crust for about 10-15 minutes before adding the filling. This creates a barrier that prevents the crust from getting soggy, ensuring that beautiful flaky bottom every single time!
To achieve that wonderfully smooth and crack-free surface, I always recommend letting your pie cool slowly on a wire rack at room temperature before chilling. Drastic temperature changes can sometimes cause cracks. If you notice a tiny crack, don’t fret; a dollop of whipped cream hides all secrets!
For the deepest, most comforting flavor, I love to let the spices in the pumpkin filling meld for at least 30 minutes, or even an hour, in the refrigerator before baking. This gives the cinnamon, ginger, and nutmeg a chance to truly bloom, making your classic Pumpkin Pie even more aromatic and delicious.
Don’t overmix your filling once the eggs are added; just whisk until combined. Overmixing can incorporate too much air, which might lead to cracks as the pie bakes and cools. Gently does it for that perfectly smooth custard!
Fun Variations for Pumpkin Pie
One of the joys of home baking is making a recipe truly your own, and this classic Pumpkin Pie is a wonderful canvas for creativity! Here are a few ways I love to play with this comforting dessert.
Spiced Pecan Topping
For an added crunch and a touch of extra sweetness, my friend Sarah always asks me to add a spiced pecan topping. Before baking, sprinkle a mixture of chopped pecans, a touch of brown sugar, and a pinch of extra cinnamon over the filling. It creates a delightful texture contrast against the creamy pumpkin filling.
Maple-Kissed Pumpkin Pie
To deepen the autumnal flavors, you could swap out a quarter of the granulated sugar for pure maple syrup. This adds a lovely, subtle maple note that complements the pumpkin beautifully. I often do this around Thanksgiving for an extra special touch. This variation makes your Pumpkin Pie even more comforting.
Gingersnap Crust
While an all-butter crust is divine, for a delightful twist, consider a gingersnap crust! Crush about 2 cups of gingersnap cookies, mix with 1/2 cup melted butter, and press into your pie plate. Bake for 10 minutes before adding the filling. My cousin loves this option for an extra spicy kick.
What to Serve With Pumpkin Pie
This comforting Pumpkin Pie is wonderful on its own, but it truly shines when paired with a few thoughtful accompaniments. Think of it as completing a sweet, cozy moment.
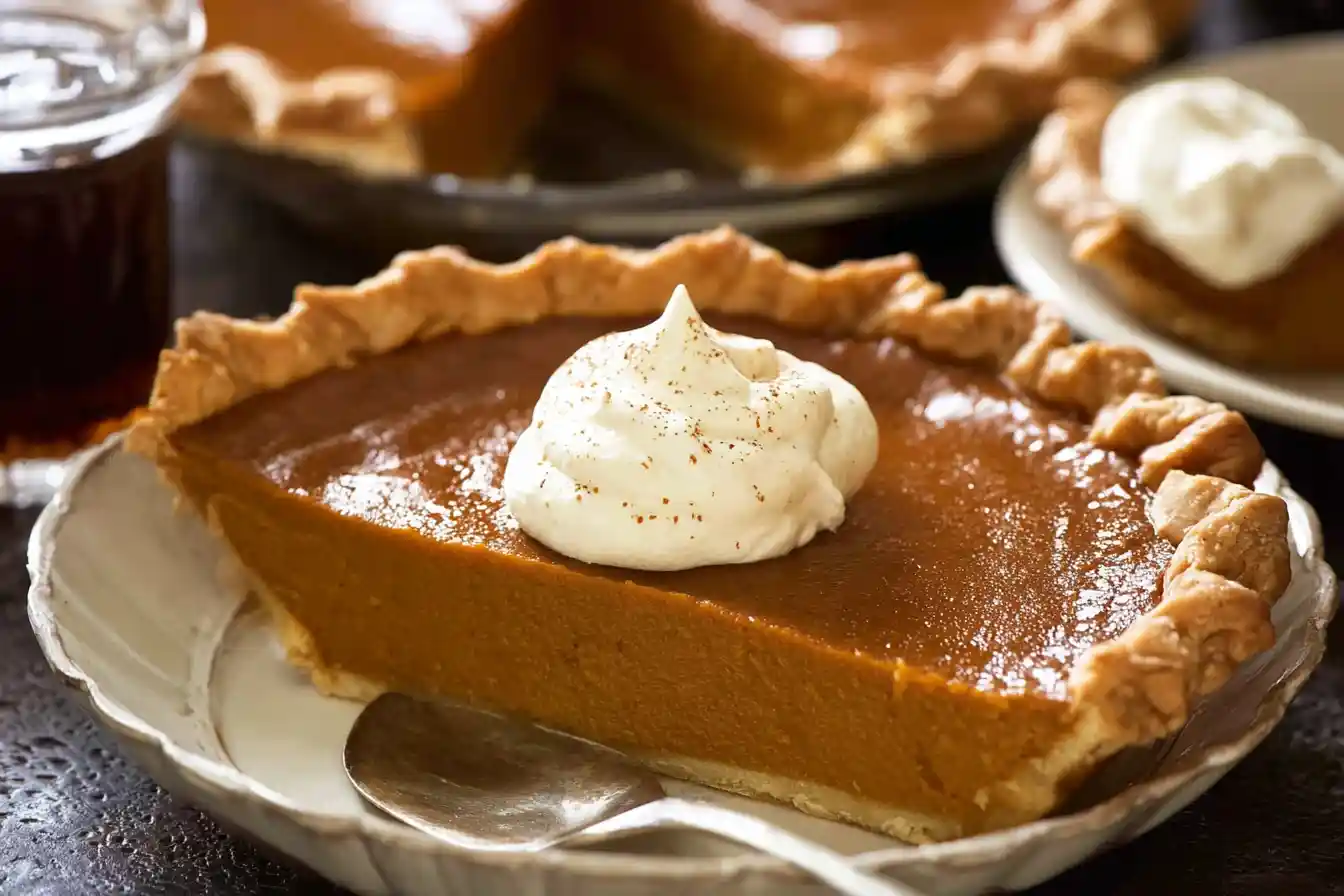
I always love serving a slice with a generous dollop of freshly whipped cream, perhaps lightly sweetened with a hint of vanilla or a dash of maple syrup. The cool, airy cream offers a beautiful contrast to the warm, spiced custard.
For a warm beverage pairing, a strong cup of freshly brewed coffee or a spiced chai latte is simply divine. My mom always pairs her pumpkin pie with a hot cocoa in the winter, making it an even cozier experience. And for a truly indulgent treat, a scoop of good quality vanilla bean ice cream melting slightly over a warm slice of pie is pure bliss!
How to Store Pumpkin Pie
Once your delightful Pumpkin Pie has cooled completely to room temperature, it’s essential to store it properly to keep it fresh and delicious.
Fridge Storage
Because of its creamy, custard-like filling, this pumpkin pie must be refrigerated. Loosely cover the pie with plastic wrap or aluminum foil, or place it in an airtight container. It will stay fresh in the refrigerator for 3-4 days. I like to keep a little space around it in the fridge so it doesn’t absorb other food odors!
Freezer Tips
If you want to enjoy this comforting treat later, pumpkin pie freezes beautifully. Once completely cooled, wrap the entire pie (or individual slices) tightly in plastic wrap, then an additional layer of aluminum foil. It can be stored in the freezer for up to 1 month. Thaw in the refrigerator overnight before serving.
Reheating and Serving
To serve, you can enjoy it chilled, or gently warm individual slices in the microwave for 30-60 seconds, or in a low oven (around 300°F/150°C) for about 10-15 minutes, until just warm through. My personal tip: a light dusting of freshly grated nutmeg just before serving truly brings out its best flavors!
Nutritional Benefits
While we often think of desserts as pure indulgence, this comforting Pumpkin Pie offers a few delightful benefits. Pumpkin puree is a wonderful source of vitamins, particularly Vitamin A, and also provides dietary fiber, making this a treat that’s both satisfying and nourishing in its own sweet way. It’s a reminder that even our most beloved desserts can incorporate simple, wholesome ingredients.
FAQs
Faq 1
Can I use fresh pumpkin instead of canned puree for this recipe?
Absolutely! If you’re feeling adventurous, you can certainly use fresh pumpkin puree. Just be sure to drain any excess moisture to prevent the Pumpkin Pie filling from becoming too watery. It will offer an even richer, more natural flavor.
Faq 2
How can I prevent my pie crust from getting soggy?
To avoid a soggy bottom for your Pumpkin Pie, always blind bake your crust before adding the filling. Line the unbaked crust with parchment paper, fill with pie weights or dried beans, and bake for 10-15 minutes until lightly golden.
Faq 3
Why did my pumpkin pie crack on top after baking?
Cracks often occur if the pie bakes too quickly at a high temperature, or if it cools too rapidly. Ensure you don’t overbake; the center should still be slightly jiggly. Cool your Pumpkin Pie slowly at room temperature away from drafts.
Faq 4
Can I make this pumpkin pie ahead of time for a special occasion?
Yes, this Pumpkin Pie is an excellent make-ahead dessert! You can bake it up to 2-3 days in advance. Just cool it completely, then cover and refrigerate until you’re ready to slice and serve.
Conclusion
Baking this Classic Creamy Pumpkin Pie is more than just following a recipe; it’s an invitation to create warmth, comfort, and sweet memories right in your own kitchen. With its flaky, all-butter crust and a luscious, perfectly spiced filling, this Pumpkin Pie is a testament to the simple magic of homemade desserts. I hope you find as much joy in baking and sharing it as I do. Remember, a little love and patience are the secret ingredients to every truly magical treat. Happy baking, my dears!