
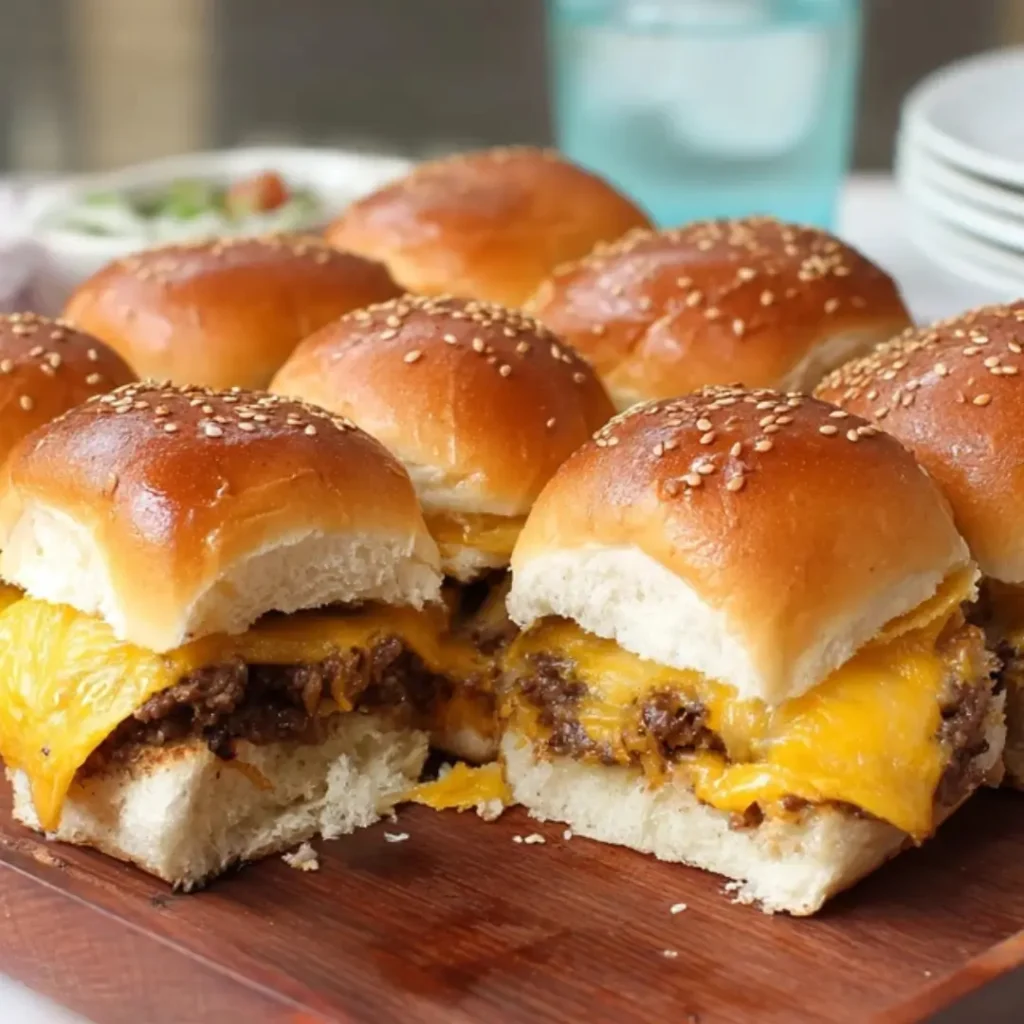
Oh, the joy of a good slider! There’s something truly magical about sinking your teeth into a perfectly crafted little bite, and these Cheeseburger Sliders are no exception. They bring all the comforting flavors of a classic cheeseburger into a fun, shareable format that’s just begging to be devoured. Imagine tender, seasoned ground beef, melty American cheese, and those vibrant toppings, all nestled in a soft bun – pure bliss!
I remember countless afternoons in my grandmother’s kitchen, where every ingredient felt like a treasure waiting to be transformed. While she was famous for her apple pie, I often experimented with savory delights, dreaming up ways to make everyday meals feel special. These sliders capture that same spirit of simple ingredients creating something truly extraordinary, just like those cherished kitchen moments.
This recipe is not only incredibly easy to prepare, making it perfect for busy weeknights or game day gatherings, but it’s also a fantastic way to bring everyone to the table. With my special savory burger sauce, every bite is packed with flavor. My top tip? Don’t skip the toasting of the buns—it adds a wonderful texture!
What You Need to Make This Recipe
Crafting these delightful sliders requires just a handful of straightforward ingredients, proving that simple doesn’t mean sacrificing flavor. We’re talking about juicy ground beef, creamy American cheese, and a homemade special sauce that truly elevates these Cheeseburger Sliders. The full list of ingredients and precise measurements can be found in the recipe card below, ready for your kitchen adventure.
How to Make Cheeseburger Sliders
Getting these irresistible sliders on your table is a breeze! You’ll start by whisking together the ingredients for our signature savory burger sauce, which adds a fantastic zing. Next, we’ll form and season the ground beef into small patties, cooking them until perfectly browned. The assembled sliders, layered with cheese and fresh toppings, then get a quick bake to achieve that warm, melty perfection. Trust me, the aroma alone will make your heart sing!
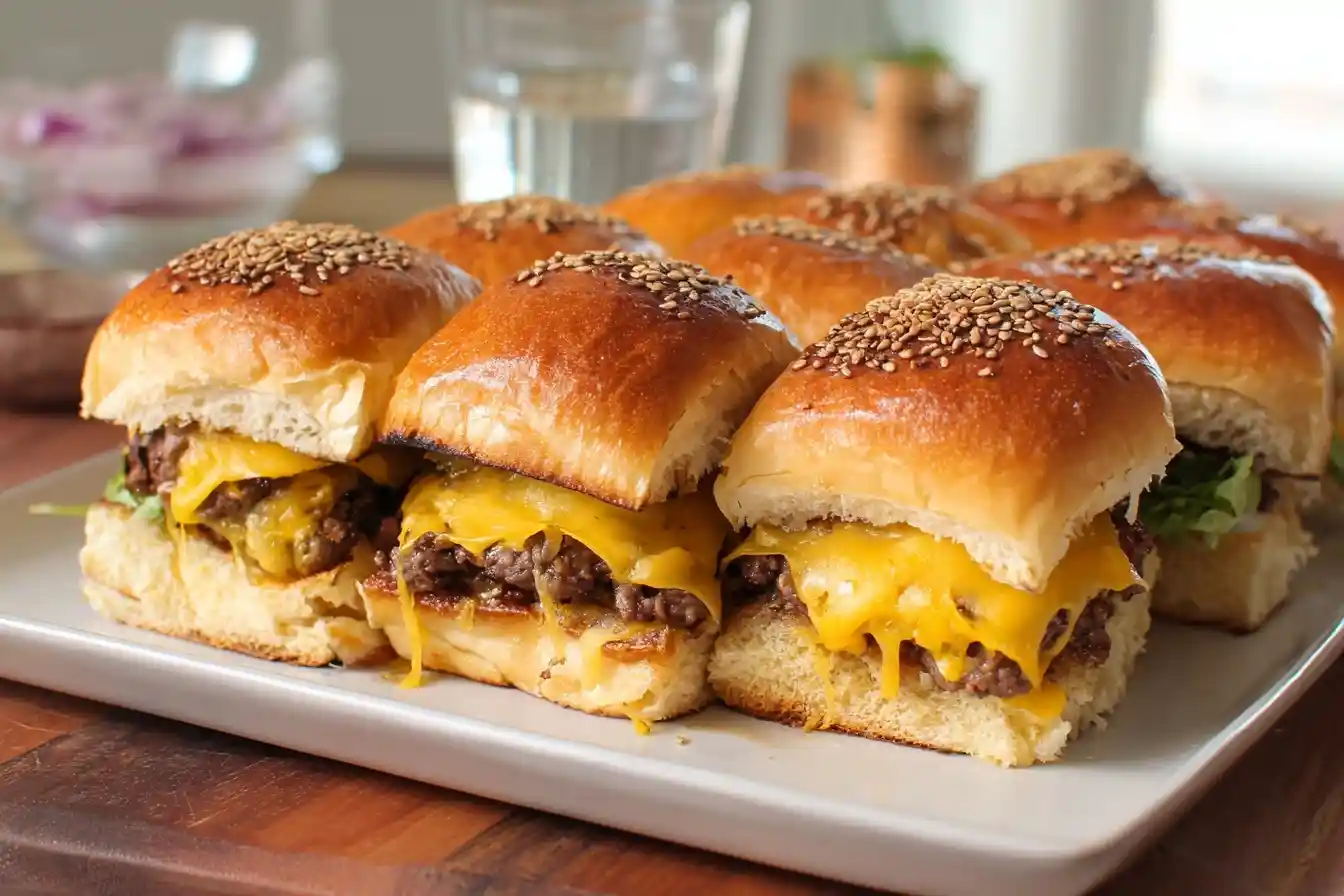
Classic Cheeseburger Sliders
Ingredients
Equipment
Method
- In a small bowl, whisk together mayonnaise, ketchup, yellow mustard, sweet pickle relish, Worcestershire sauce, smoked paprika, and garlic powder until well combined. Set aside.
- In a large mixing bowl, gently combine the ground beef with salt and black pepper. Do not overmix. Divide the beef into 12 equal portions (about 2 ounces each) and gently form into small, flat patties slightly larger than your slider buns, as they will shrink when cooked.
- Preheat a large skillet or griddle over medium-high heat. Place the beef patties in the hot skillet, working in batches if necessary, and cook for 2-3 minutes per side, or until desired doneness. During the last minute of cooking, place a quartered slice of cheese on top of each patty, covering it with a lid for 30 seconds to help the cheese melt. Remove patties from the skillet and set aside.
- Preheat your oven to 350°F (175°C). Separate the tops and bottoms of the slider buns. Arrange the bottom halves of the buns in a single layer on a baking sheet.
- Brush the inside of both the top and bottom bun halves lightly with melted butter.
- Place a cooked cheeseburger patty on each bottom bun. Top with a few thin slices of red onion and a couple of dill pickle chips.
- Spread a generous spoonful of the special sauce on the inside of each top bun, then place the top buns onto the assembled sliders.
- Bake for 5-7 minutes, or until the buns are lightly toasted and the cheese is fully melted and bubbly.
- Carefully remove the sliders from the oven. Serve immediately with any remaining special sauce on the side.
Notes
Add other favorite burger toppings like crispy bacon, grilled onions, or a thin slice of tomato.
Leftover sliders can be stored in an airtight container in the refrigerator for up to 2 days. Reheat gently in the oven or air fryer.
Pro Tips for Making This Cheeseburger Sliders
Over my years in the kitchen, I’ve picked up a few tricks that truly make a difference, and I’m so excited to share them with you for these delightful Cheeseburger Sliders.
My Secret Trick: I always lightly toast the slider buns before assembling. A quick brush with melted unsalted butter and a minute or two in the oven or a dry pan creates a lovely golden exterior and prevents them from getting soggy from the juicy patties and sauce. It adds a subtle crunch that makes all the difference!
When forming your beef patties, make them slightly larger than the buns, as they will shrink a little during cooking. A small dimple in the center of each patty also helps prevent them from puffing up, ensuring they cook evenly and flat.
Don’t be shy with the Special Sauce! It’s the star of the show for these Cheeseburger Sliders. A generous spread on both the top and bottom buns ensures every bite is bursting with that savory, tangy flavor. You might even want to make a little extra for dipping!
For the best melt, place the American cheese slices directly on the hot patties just before assembling. This ensures that gooey, irresistible layer we all love.
Fun Variations for Cheeseburger Sliders
One of the things I adore about home cooking is the freedom to get creative and make a recipe truly your own! These Cheeseburger Sliders are wonderfully versatile, and I’ve loved experimenting with different twists over the years.
Spice It Up
My friend, Sarah, always asks me to add a little kick! You can easily infuse some heat by mixing a pinch of cayenne pepper into your ground beef, or by adding a dash of hot sauce to the special burger sauce. For a different kind of warmth, try a sprinkle of smoked paprika with the garlic powder on your patties.
Cheese, Please!
While American cheese is a classic for a reason, feel free to swap it out! Cheddar, Monterey Jack, or even a spicy pepper jack can add a wonderful new dimension to your sliders. For a truly gourmet touch, crumble some blue cheese over the patties right before baking.
Topping Twists
Don’t limit yourself to just red onion and dill pickles. Thinly sliced jalapeños, crispy bacon bits, sautéed mushrooms, or even a fried egg could turn these Cheeseburger Sliders into a brunch sensation. My family loves when I add caramelized onions for a touch of sweetness.
What to Serve With Cheeseburger Sliders
When I host gatherings, I always think about how to create a complete and comforting meal that feels special, and these Cheeseburger Sliders are just the starting point! They’re incredibly satisfying on their own, but a few simple accompaniments can make the meal even more delightful.
I love serving these sliders alongside a big bowl of crispy sweet potato fries – the slight sweetness pairs wonderfully with the savory beef. A fresh, vibrant coleslaw or a simple green salad with a zesty vinaigrette also offers a lovely contrast and helps cut through the richness. And for a quick win, a bowl of crunchy potato chips is always a crowd-pleaser and a nostalgic touch for these classic-inspired bites. My mom always had a bowl of chips out when we had burgers, and it just feels right!
How to Store Cheeseburger Sliders
It’s always a good idea to know how to keep your delicious creations fresh, and these Cheeseburger Sliders are no different. While they are best enjoyed fresh from the oven, you can absolutely store leftovers and savor them later!
Fridge Storage
Once cooled, place any leftover Cheeseburger Sliders in an airtight container. They will keep beautifully in the refrigerator for up to 2-3 days. If you prefer to keep the buns from getting soft, you can store the patties and sauce separately and reassemble just before serving.
Reheating for Best Flavor
To bring them back to life, I recommend reheating the sliders in a preheated oven at 350°F (175°C) for about 10-15 minutes, or until warmed through and the cheese is re-melted. This helps the buns crisp up slightly again. My personal tip? A quick, light brush of butter on the buns before reheating helps them regain some of that lovely, fresh-baked quality!
Nutritional Benefits
While we often think of sliders as an indulgence, these Cheeseburger Sliders offer more than just deliciousness! Packed with protein from the ground beef, they provide a satisfying and energetic meal. With simple, fresh ingredients like red onion and pickles, it’s a treat that’s both satisfying and nourishing in that wholesome, homemade way.
FAQs
Can I prepare the patties ahead of time?
Absolutely! You can form the ground beef patties for your Cheeseburger Sliders up to 24 hours in advance. Store them covered in the refrigerator until you’re ready to cook, making meal prep a breeze.
What kind of ground beef is best?
For juicy Cheeseburger Sliders, I recommend using 80/20 lean ground beef. The higher fat content contributes to a more flavorful and moist patty that won’t dry out during cooking.
Can I freeze cooked cheeseburger sliders?
Yes, you can freeze cooked cheeseburger sliders. Once cooled, wrap them individually in plastic wrap and then place in an airtight freezer-safe bag. They’ll keep for up to 1-2 months. Thaw in the fridge before reheating.
How do I prevent the buns from getting soggy?
To avoid soggy buns with your Cheeseburger Sliders, lightly toast them before assembly and make sure your patties are well-drained of any excess grease after cooking. A quick spread of sauce acts as a barrier too!
Conclusion
There you have it, my friends – a recipe for Cheeseburger Sliders that promises to bring smiles and satisfied sighs to your table. These aren’t just mini burgers; they’re little parcels of joy, perfect for sharing, celebrating, or simply making a weeknight meal feel extra special. Remember, baking and cooking from the heart, with a little love and patience, is truly how we create those unforgettable memories. I can’t wait for you to try these and discover the magic of homemade goodness for yourself!